
Web Automation with Python is an essential tool to facilitate and scale the execution of repetitive tasks and speed up manual processes. In this article, we will understand more about what it is, how it works, and how to develop automation using Python and Selenium, with examples and explanations of the advantages of these technologies.
Web Automation
Web Automation is a project to automate tasks and interactions in environments that are on the Web, allowing processes to execute in some of the following ways:
- No code: with tools that allow the development of automation without using programming languages or frameworks, with pre-defined flows;
- Low code: with tools that allow some use of code according to the situations but which also have pre-defined flows and processes;
- Code-based: we develop this using programming languages, frameworks, and other libraries, bringing more freedom and flexibility to fulfill automation requirements, as well as greater control over what the developers’ team can do and how they can do it.
What is Selenium?
Selenium is an open-source framework that, initially, was well known among the community of people who work with tests and software quality for being a great support in the development of automated tests in browsers.
However, its applicability has become even more robust and adaptable. It is now also used for several other types of automation, such as Web and RPA (Robotic Process Automation).
Automation with Python and Selenium
Automation with Python and Selenium is possible because Selenium supports Python, a programming language that developers increasingly use to automate manual and repetitive tasks, according to research on RPA trends in Latin America in 2023 performed by BotCity and EY.
Using the commands from the Selenium Webdriver library, which the W3C recommends, it is possible to simulate various actions that users would do to perform a specific task. Even with functions that are not available, because of the integration with the Python language, it is easy to import other libraries of this language to make the development process faster, taking advantage of features already consolidated by the community.
💡 Learn more: Python Libraries: updated list [2024]
What is Selenium Webdriver, and how does it work?
Selenium supports most browsers with Selenium Webdriver, which runs a browser like a human user, locally or in a virtual machine using the Selenium server. Selenium created the Webdriver to be a simple and more concise programming interface. It is also an object-oriented API and helps drive the browser more effectively while executing processes.
💡 Learn more: Selenium WebDriver Documentation.
Advantages of developing automation with Python and Selenium
Python is a programming language known for its power and simplicity. It is also quite versatile, making it an ideal choice for Web automation development, while integration with Selenium can facilitate automating complex tasks.
Both Python and Selenium have cross-platform support, and this compatibility means that different OS (Operating Systems) can execute and interpret the code.
The active community of both technologies becomes great support during development and, by being open source, allows constant contributions to improvements to be applied when they make sense. In addition, there are a lot of materials available to learn about these technologies.
We cannot forget to mention the integration with several other frameworks that can become very useful during the development process and the compatibility with several browsers widely used daily, such as Edge, Safari, Chrome, and Firefox, allowing a consistent automation experience across different browsing environments.
Example of automation with Python and Selenium
Now, let’s go step by step through creating automation with Python and Selenium, from preparing the environment to developing the automation. In this example, we will create an automation to check the ZIP code on the official Brazilian post office website.
Prepare the environment
To install Selenium, you need to run the following command in your terminal:
pip install selenium
You can install it using the terminal on your computer or the terminal of your favorite IDE for Python development. For example, we have Visual Studio Code and PyCharm.
In your code, you must add the following library:
from selenium import webdriver
Selenium Webdriver Configuration
In this example, we will use Webdriver for Firefox: Geckodriver. But as mentioned previously, it is compatible with other browsers; search for “webdriver + your browser name,” and it will be easy to find.
To use Webdriver in your code, you can do it in two ways:
- Download the Webdriver for the browser you want to use in your automation.
Download the Webdriver according to the browser you will be using. Remember to download the Webdriver corresponding to the operating system where you will execute the automation. Then, add the Webdriver to the folder that you will reference within the code as per the following line:
driver = webdriver.Firefox(executable_path = “webdriver_path”)
- Install while the code runs
You can do it according to the code below:
# adds GeckoDriverManager import
from webdriver_manager.firefox import GeckoDriverManager


def main( ):
…
    # instantiates the WebDriver
    driver = webdriver.Firefox(executable_path=GeckoDriverManager().install())
    …
Web automation development to search for ZIP codes
So far, we have created a file called `bot.py`, and our code will look like this:
from selenium import webdriver
from webdriver_manager.firefox import GeckoDriverManager


def main():

    # instantiates the WebDriver
    driver = webdriver.Firefox(executable_path=GeckoDriverManager().install())


if __name__ == '__main__':
    main()
Our `requirements.txt` file will look like this:
selenium==3.141.0
webdriver-manager==4.0.0
The objective of our example automation will be to consult ZIP codes on the official Brazilian post office website. We can create a temporary constant with the website link and ask Selenium to open the link. Next, let’s test if it’s working.
from selenium import webdriver
from webdriver_manager.firefox import GeckoDriverManager

POST_OFFICE_SITE = "https://buscacepinter.correios.com.br/app/endereco/index.php"

def main():
    # instantiates the WebDriver
    driver = webdriver.Firefox(executable_path=GeckoDriverManager().install())

    # access the ZIP code search page
    driver.get(POST_OFFICE_SITE)


if __name__ == '__main__':
    main()
When executing the code above, we should already obtain some result, which in this case is the bot opening the post office website:
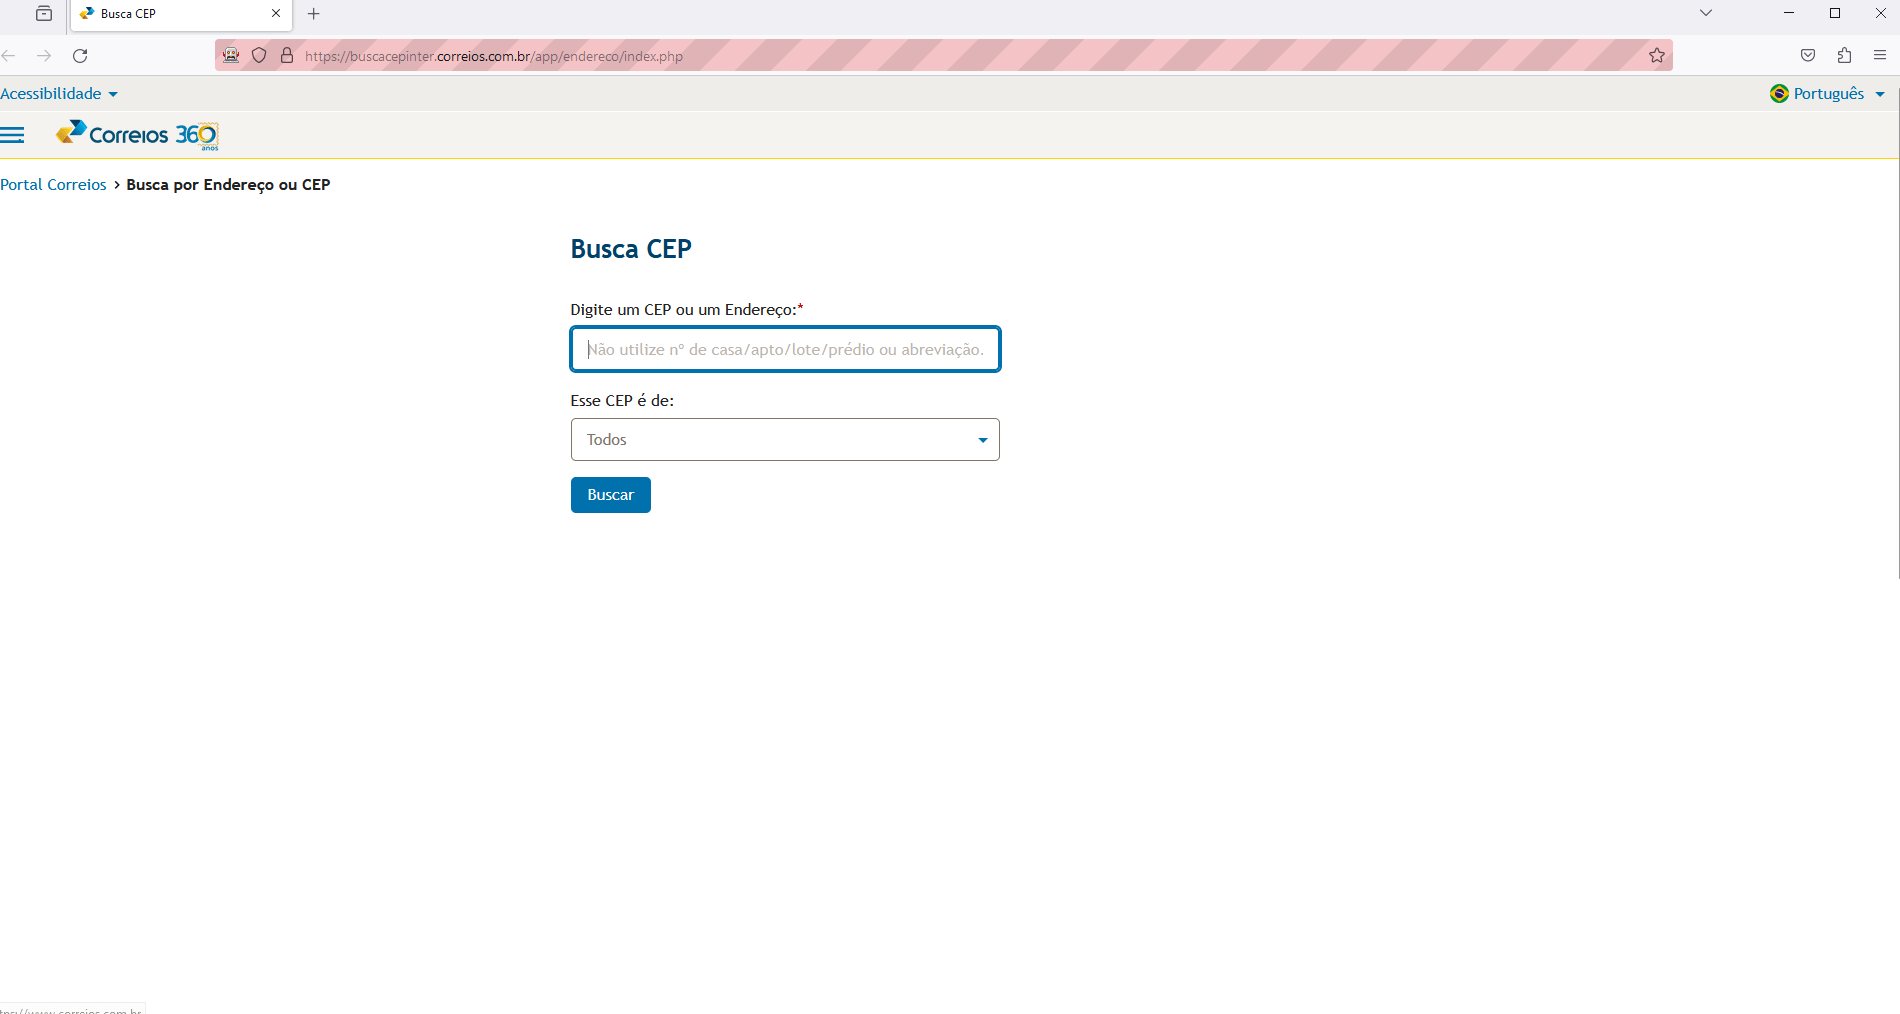
We can now start manipulating the elements of the DOM (Document Object Model – the structure of the website’s HTML page that we will automate) with the support of the Selenium framework.
If we were to do the task manually, we would have to click in the field to enter the zip code by typing it with the keyboard and then click on the “Search” button. But the bot will do it for us. So, we need to find ways to identify the field and the button.
As mentioned previously, we will use the DOM. To get to it, we will right-click on the mentioned field we want to identify and choose the “Inspect” option from the menu.
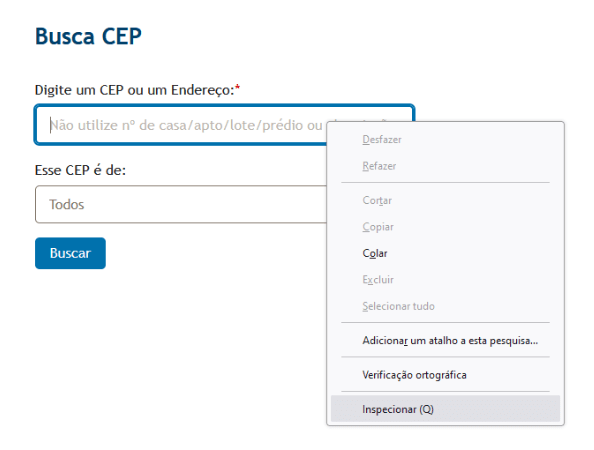
After that, we will access the browser settings and the HTML code of the Brazilian post office page. To access the data entry field for the zip code or address, we will use the ID, as highlighted in the image below. The HTML code shows an id called “endereco” to identify the element. As this ID is unique, according to the specifications of the HTML itself, we will use it to access it via bot.

To do this, we will add the following command to the code:
    # identifies the element
    input_zip_code = driver.find_element_by_id("endereco")


    # insert the zip code value in the address field
    input_zip_code.send_keys(ZIP_CODE)
Before the main function, we also add a temporary constant to test the ZIP code insertion:
ZIP_CODE = "71691-181"
In the same way we did to identify the element in the address field, we will do it with the “Search” button. We right-click on the button and choose the inspect option. The identified item should then appear in the page’s HTML code.

In this case, we identified that there is also an ID for the “search” button called “btn_pesquisar”, so we will use it. To identify the button and the bot to click on it, we will add the following code:
    # identifies the element and clicks the button
    btn_search = driver.find_element_by_id("btn_pesquisar")
    btn_search.click()
It’s time to test our code to validate that everything is working. It is expected that at the end of the bot’s execution, the query screen will be open, showing the addresses of the zip code entered in the search.

It is a very typical task to collect page data from a query to carry out automation. In our example, we will collect the address and save it in a variable so we can interpret the data. With Selenium, we can do it as follows:
    # get page result
    result_table = driver.find_element_by_id("resultado-DNEC")

    print(result_table)
But it will not be readable when you run the code and try to access the data. In your terminal, you may have something similar to this as a response to the print command:
<selenium.webdriver.firefox.webelement.FirefoxWebElement (session="63ec31a9-1322-41d5-8381-4f8703b6f7ce", element="7acfa790-367e-4014-b85d-476e672d838e")>
We will resolve this in the next topic.
How to integrate with BotCity’s Python framework
Having only some of the desired features in a given framework is possible. We can use their integration in the Python programming language to use each part better.
To solve the data interpretation problem, we will use a function called “table_to_dict” from the BotCity Open Source framework. To do this, we will add the import as below:
from botcity.web.parsers import table_to_dict
And in the code, we will add the following function:
    # converts data to a Python dictionary
    result_table = table_to_dict(result_table)[0]
    print(result_table)
When you rerun the code, you will probably get a result similar to the one below:
{'logradouronome': 'Avenida Brasil', 'bairrodistrito': 'Bora Manso', 'localidadeuf': 'Brasília/DF', 'cep': '71691-181'}
Now, it will be easier to access the fields and data for your automation in this format. emember to add the following function to the end of your code, as it is good practice to always close the browser at the end of running your RPA automation.
driver.quit()
You can also explore more features of the BotCity web framework through the documentation, and there are several functions that can help you improve your bots.
To understand how the final code turned out, follow below:
from selenium import webdriver
from webdriver_manager.firefox import GeckoDriverManager
from botcity.web.parsers import table_to_dict

POST_OFFICE_SITE = "https://buscacepinter.correios.com.br/app/endereco/index.php"
ZIP_CODE = "71691-181"

def main():
    # instantiates the WebDriver
    driver = webdriver.Firefox(executable_path=GeckoDriverManager().install())

    # access the ZIP code search page
    driver.get(POST_OFFICE_SITE)

    # identifies the element
    input_zip_code = driver.find_element_by_id("endereco")

    # insert the zip code value in the address field
    input_zip_code.send_keys(ZIP_CODE)

    # identifies the element and clicks the button
    btn_search = driver.find_element_by_id("btn_pesquisar")
    btn_search.click()

    # get page result
    result_table = driver.find_element_by_id("resultado-DNEC")

    # converts data to a Python dictionary
    result_table = table_to_dict(result_table)[0]

    print(result_table)


if __name__ == '__main__':
    main()
Practicing Web automation with Python
This project was an example of a better understanding of how Selenium works with Python to develop Web automation. There are several improvements that we can make in this code. So how about practicing?
You can change the way you enter data instead of leaving it fixed in the code, such as the link to the website and the zip code you want to check. There are more dynamic ways to do this, for example, using parameters or spreadsheets.
Speaking of improving your code, the ideal next step is learning how to manage your automation. An excellent way to do this would be using BotCity Orchestrator. You can learn how to do it step by step in the article “Orchestrating and managing your Selenium automation”.
Are you ready to explore more about Web automation?
We invite you to join our global RPA community to go deeper into this topic. Just join our Slack or get in touch via our forum.. If you have any questions, just call us! And don’t forget to create your free account to test the features we explore in our content.


